


In this tutorial, you are going to learn how to setup PySyft, a privacy-preserving machine learning framework, on Windows 10. Presently, we are going to work with the version 0.2.9, which is the latest version as by the time of writing.
Requirements:
- A computer equipped with Windows 10
- An internet connection
This tutorial is organized into 4 different steps:
Step 1 - Enable the Linux Subsystem
Step 2 - Install an Ubuntu Distribution
Step 3 - Install Conda
Step 4 - Install PySyft
Tutorial
As of the time of writing, PyTorch v1.4.0 is not available for download on Windows 10. Therefore, we will need to install a Linux Submachine and then install PySyft there.
Step 1 - Enable the Linux Subsystem
Creating a Linux submachine in Windows is super easy and convenient for installing Unix-friendly frameworks like PyTorch and PySyft in Windows. The first thing we need to do is enabling a Linux subsystem in Windows by turning on Windows Features
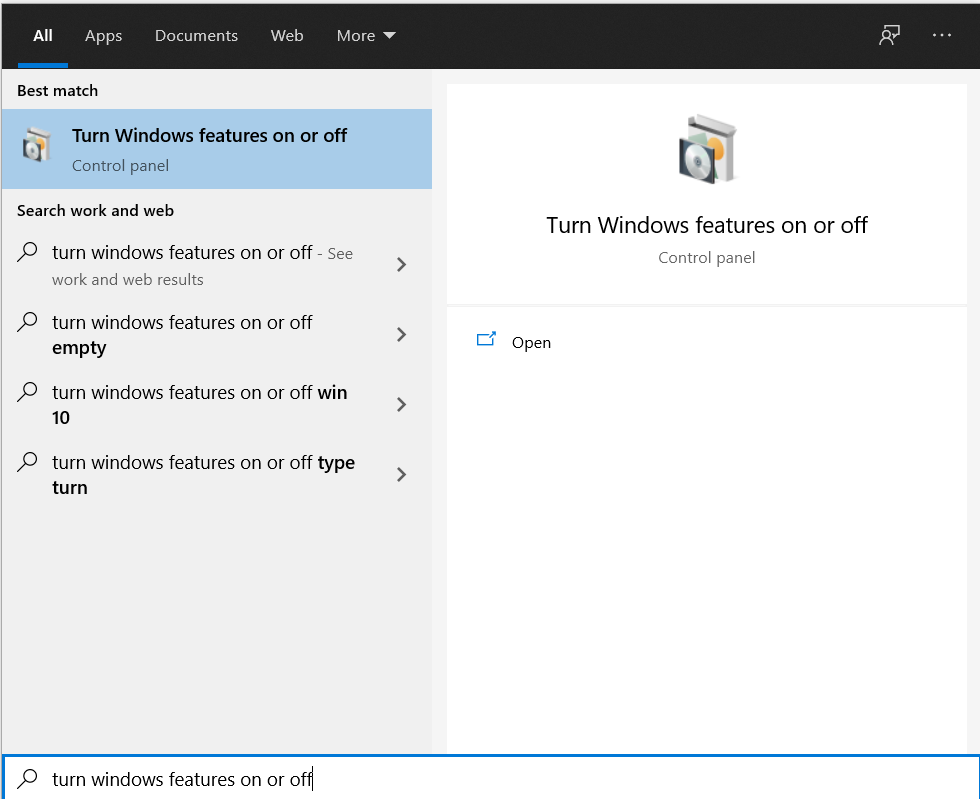
In the Windows Search bar, search for "Turn windows features on or off", then click on the corresponding option that comes up from the control panel.
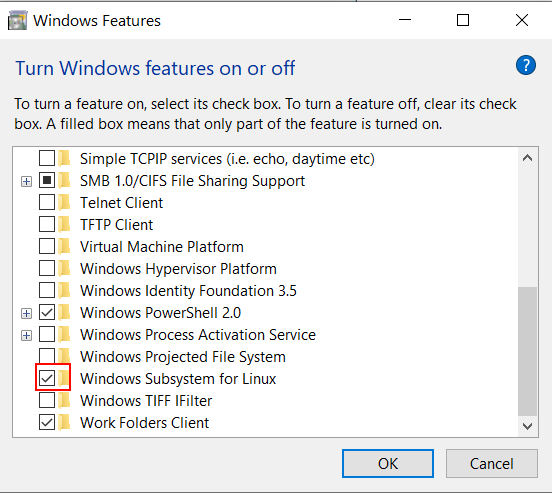
In the window popping up, add a tick to the checkbox "Windows Subsystem for Linux", then click on "OK".
Step 2 - Install an Ubuntu Distribution
Now we need to head over to the Microsoft Store. In the search bar on the top-right corner, enter "Linux" and perform a Search. Several different Linux distributions will be displayed, among which you can choose one:
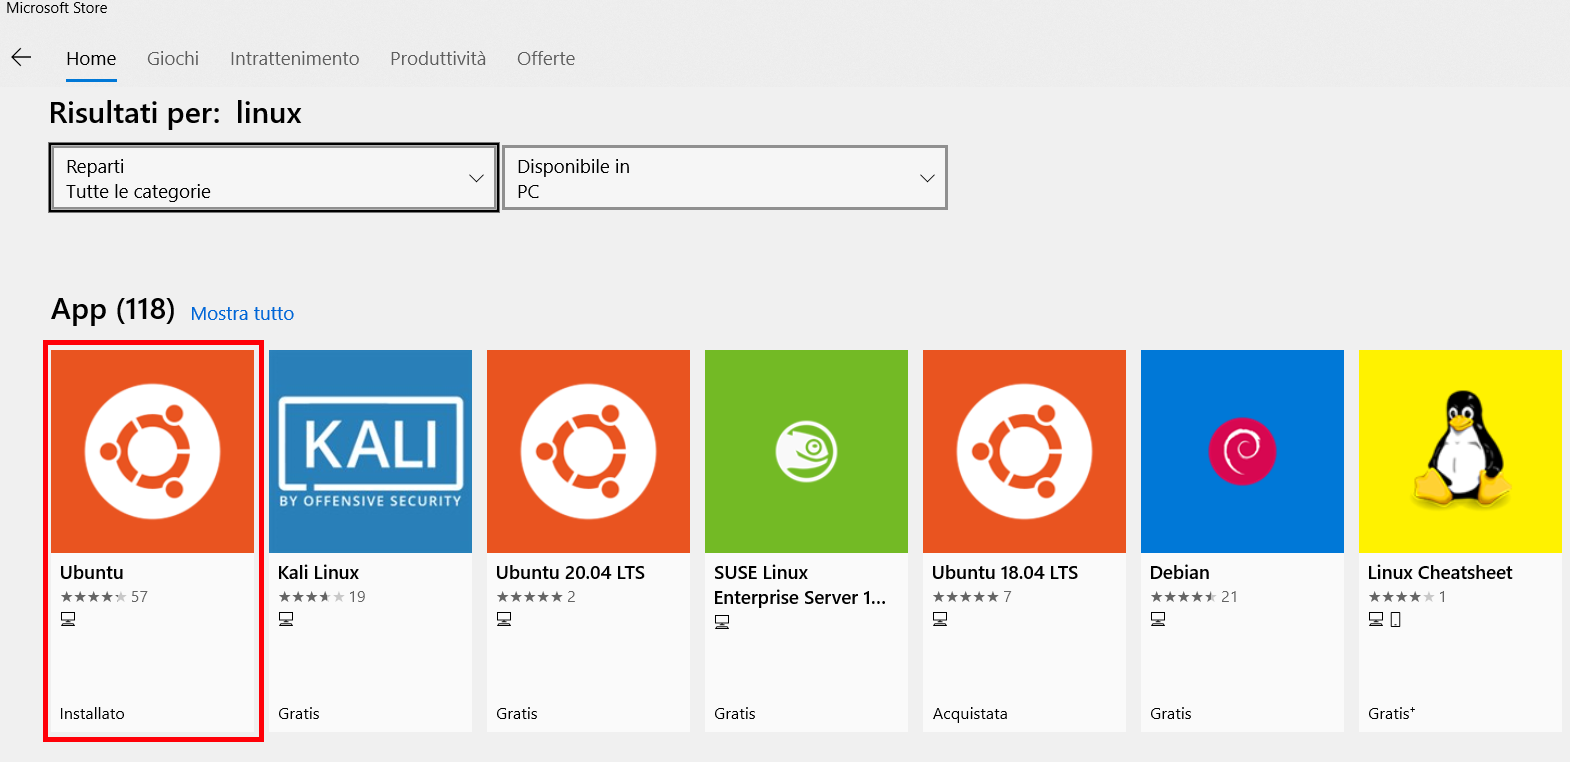
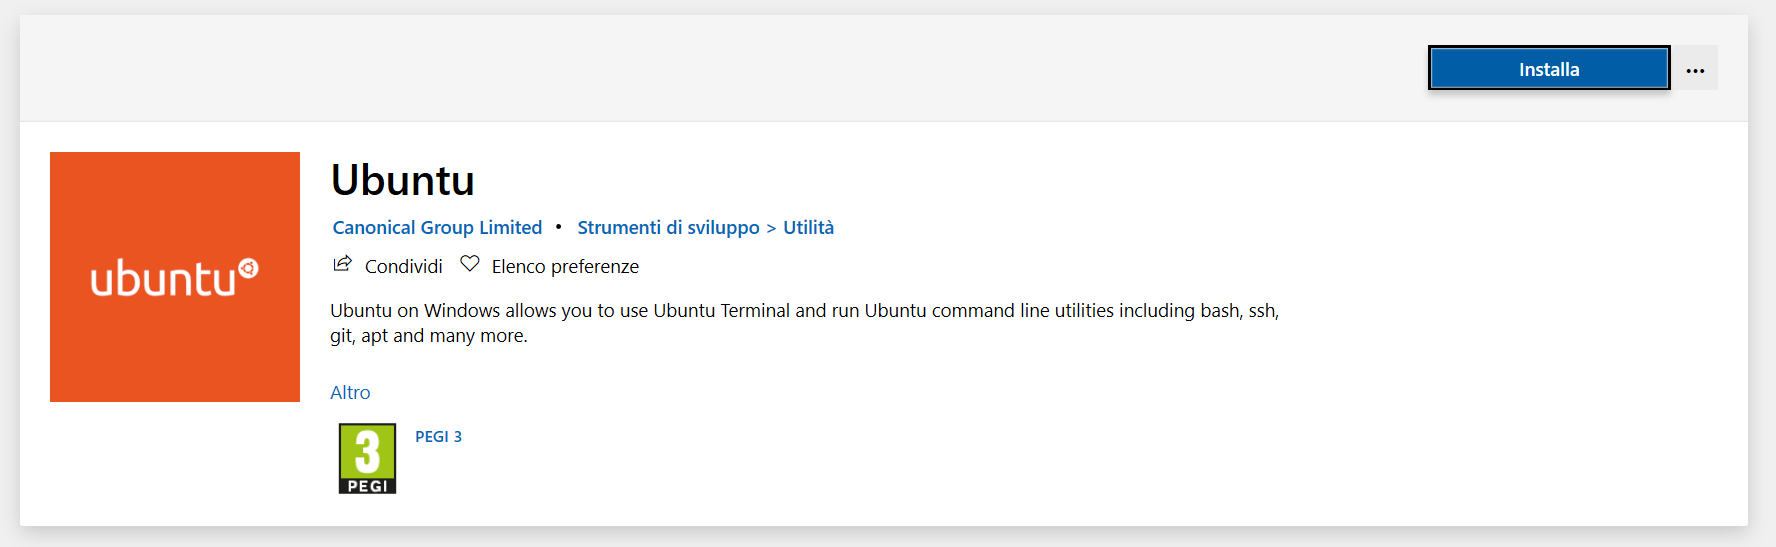
Personally, I picked the first one from the Canonical Group, but any Ubuntu version >= 18.04 LTS should do. Now grab an Ubuntu distribution and install it by hitting the big blue button "Install"
Once the installation process finishes, just click on "Start" from the Microsoft Store of the Ubuntu app, or look for the installed Ubuntu app in the Windows search bar.
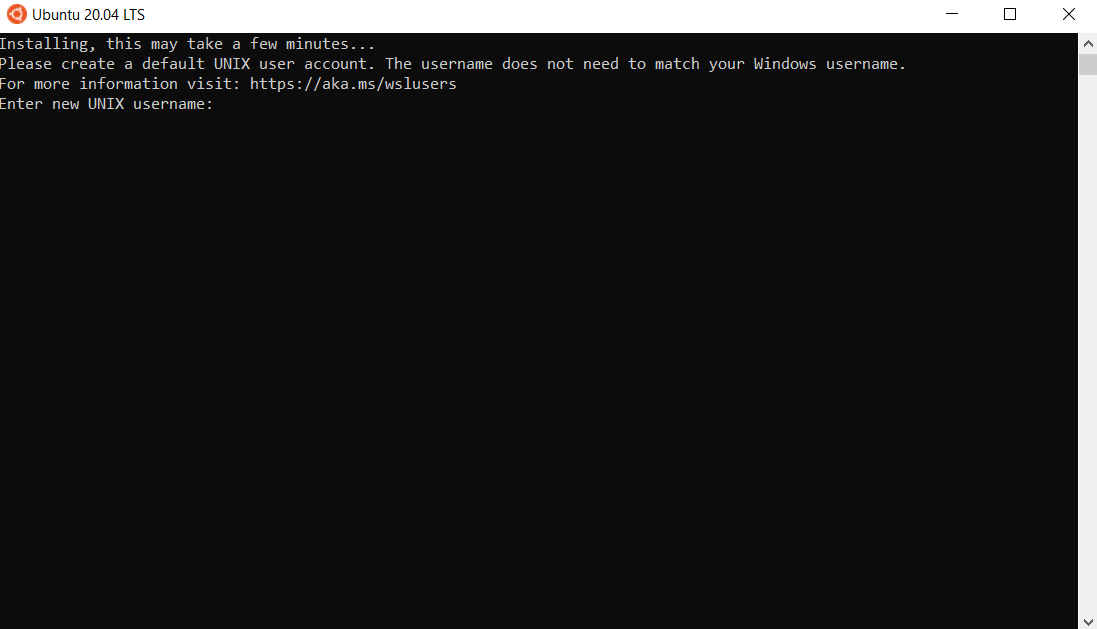
The first time you boot the Linux subsystem, you may need to wait a little while for it to finish installing. Then, you will be prompted to enter a username and sudo password.
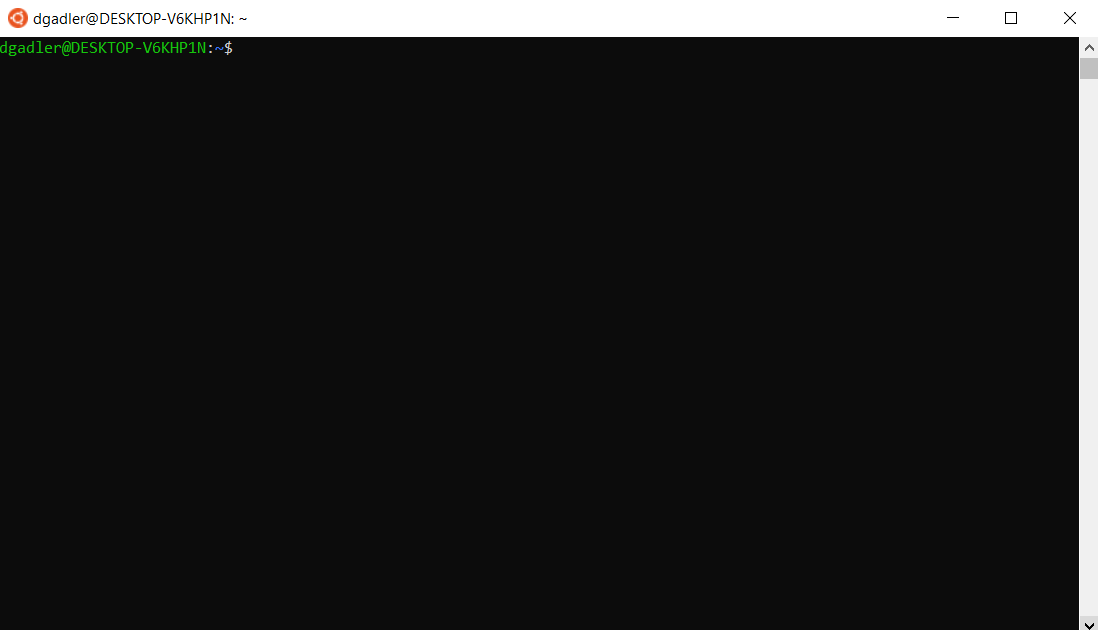
After entering your username and password, you will be welcomed to your newly installed Linux subsystem. Congratulations!! Let's now proced to Step 3.
Step 3 - Install Conda
The easiest way to manage Python and package dependences in Linux systems is via using conda. So, now we are going to download Conda and use it to create an environment with running Python 3.7, where we will be installing all the PySyft-related dependencies.
To do that, I followed this tutorial:
https://www.digitalocean.com/community/tutorials/how-to-install-anaconda-on-ubuntu-18-04-quickstart
Step 3.1 - Download the latest version of Anaconda
Head over to the bottom of the Anaconda distribution page, select the Linux 64-bit (x86) installer, and download it on the Linux subsystem. To download the installer, I had to enter the following commands from the Linux subsystem. A version based on Python3.8 is fine, since we will install a new Python version with Conda anyway.
cd $HOME
wget https://repo.anaconda.com/archive/Anaconda3-2020.07-Linux-x86_64.sh
Step 3.2 - Install Anaconda
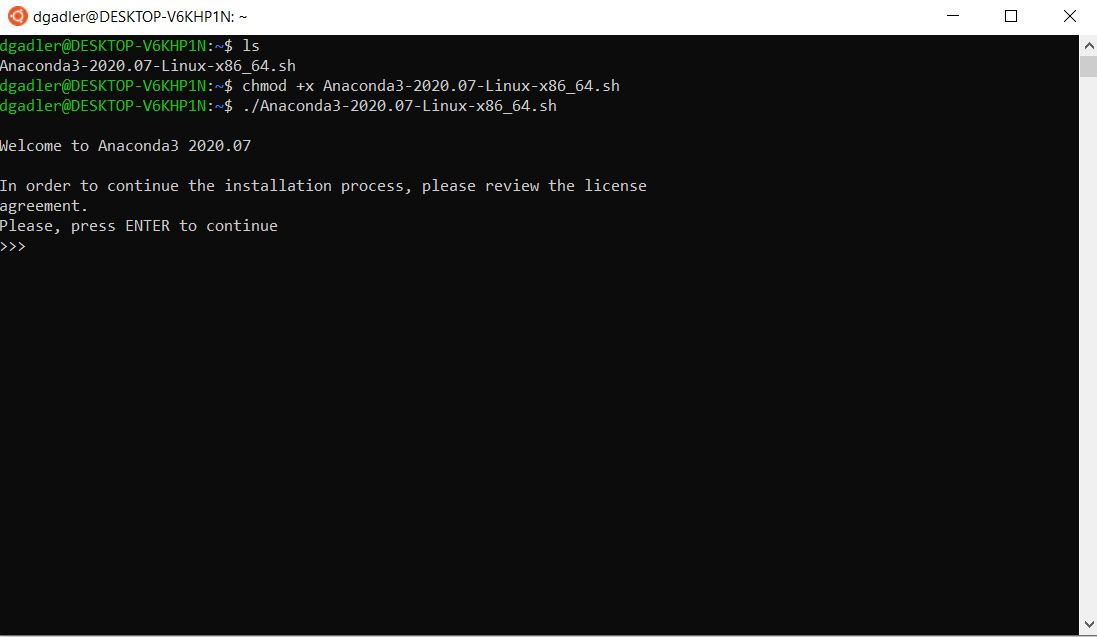
Once the download completes, we just need run the installer, and follow the installation instructions. To start up the installer, let's run:
chmod +x Anaconda3-2020.07-Linux-x86_64.sh
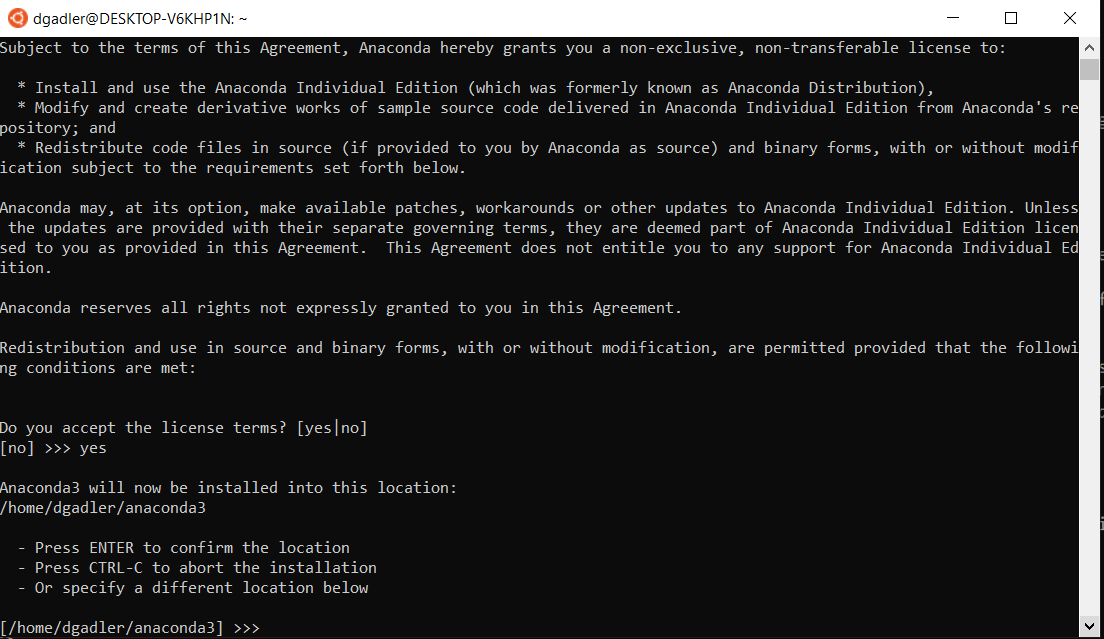
./Anaconda3-2020.07-Linux-x86_64.sh Press ENTER to continue the installation:
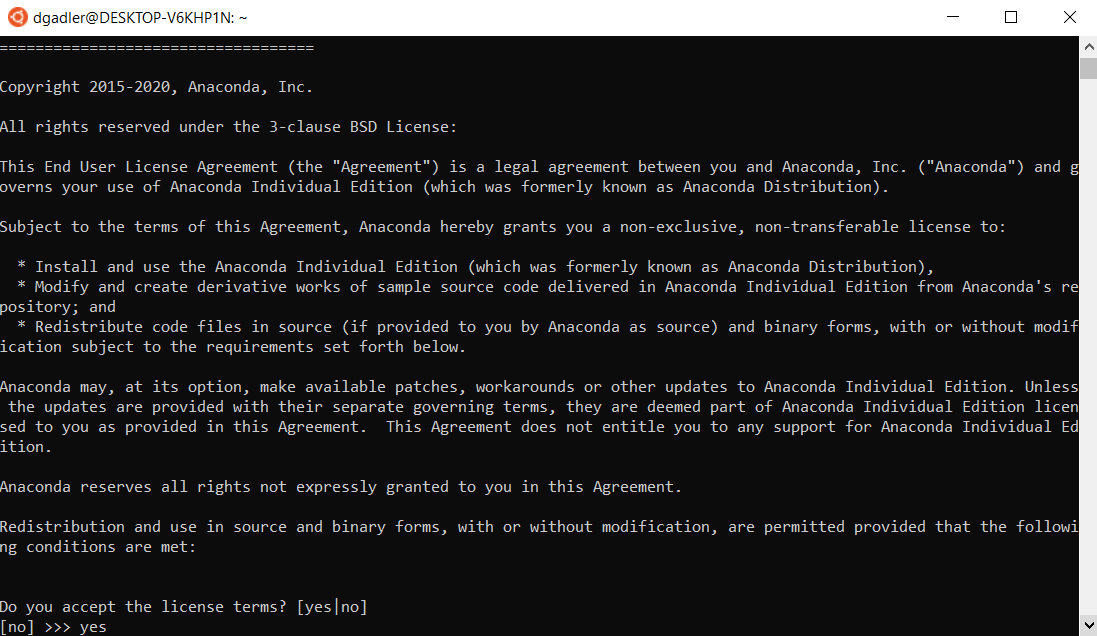
Type "YES" to accept the license:
Press ENTER if the default installation directory is fine for you, or set a custom one:
Once the installation procedure completes, we just need to close the Ubuntu subsystem and re-open it, or run the following command to activate conda:
source ~/.bashrc
Finally, to test the installation, we can run the following command to view the available environments. By default, just the base environment is available:
conda info --envsStep 4 - Install PySyft
First of all, we need to create a new environment in Conda running Python 3.7, that will be hosting all the PySyft dependencies. To do that, let's run this command to create an environment named syft_python:
conda create --name syft_python python=3.7Let's now activate this environment, so that when using pip commands to install packages, we will be installing those packages in this newly created environment:
conda activate syft_pythonLet's clone the PySyft repository and navigate into the cloned PySyft folder:
git clone https://github.com/OpenMined/PySyft.gitLet's install some basic dependencies from the command line to be able to install PySyft's dependencies:
sudo apt-get update
sudo apt-get upgrade
sudo apt-get install gcc g++
Let's install PySyft's dependencies contained in the requirements.txt file of the pip-dep folder :
cd $HOME/PySyft/pip-dep
pip install -r requirements.txt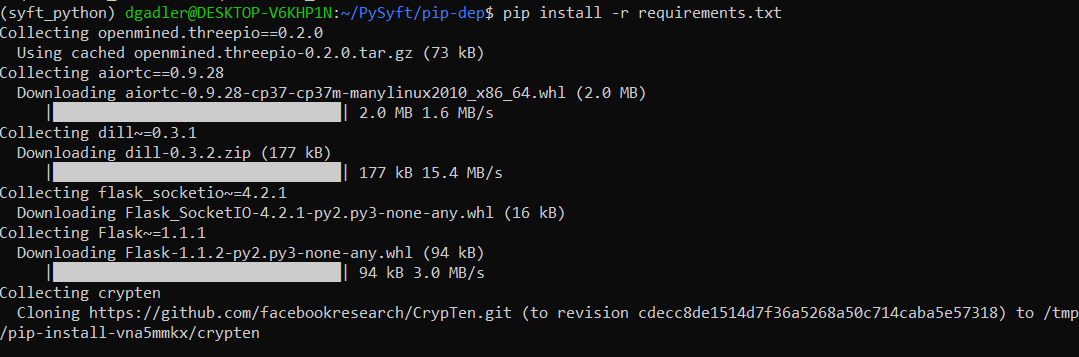
Finally, once the dependencies' installation process has finished, let's install PySyft:
cd $HOME/PySyft
python setup.py install --user
If everything went well, and PySyft has been setup correctly, you should see a screen like the following one, meaning all the dependencies have been resolved correctly:

Now, let's test PySyft by importing it as a package in Python and check if it has been configured correctly:
cd $HOME
python
import syft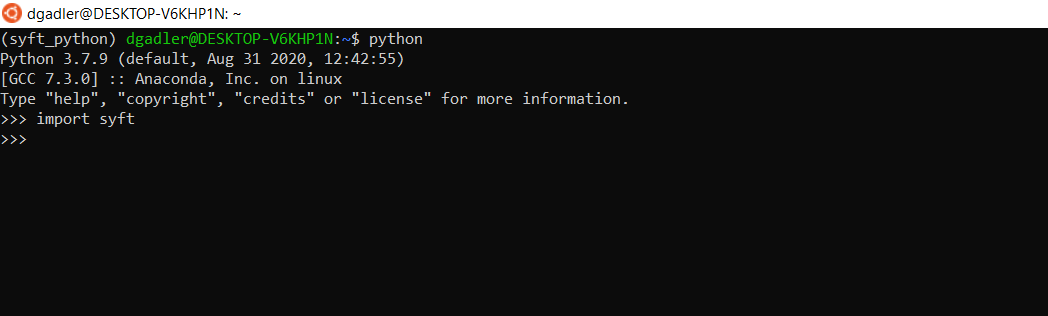
If no error appears, that means you have successfully installed PySyft on your Linux sub-system in Windows! Congratulations!!